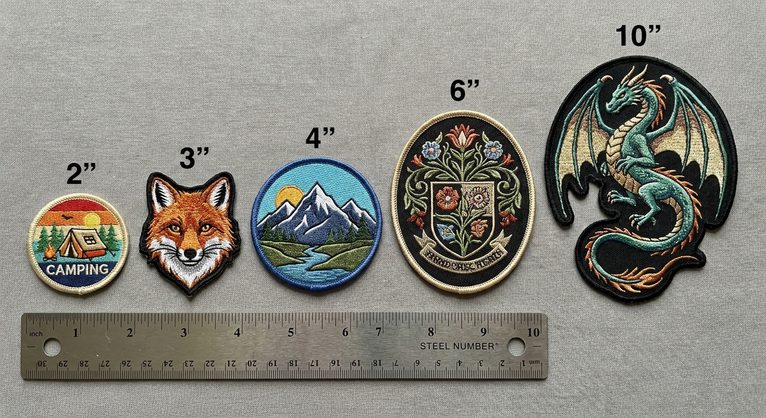
The backing is the least visible part of a patch and the part that decides whether it stays on. The same embroidered design can be permanent on a work shirt, removable on a tactical bag or temporary on an event lanyard, depending entirely on what is on the back.
This guide explains the main types of patch backings, how each one is attached, what it suits and when to avoid it. If you are ordering patches in bulk, choosing the backing before you ask for a quote saves a round of questions.
Patch backing options at a glance
- Iron-on: heat-activated adhesive, applied with a household iron. Quick and neat on cotton and denim.
- Sew-on: no adhesive, stitched to the garment. The most durable and the most washable.
- Velcro (hook and loop): removable and reusable. Standard for military, tactical and uniform use.
- Adhesive (peel and stick): temporary. For events and short-term use only.
- Pin: clutch pin or safety pin. Removable without marking the garment.
- Heat seal: an industrial-grade adhesive applied with a heat press for a stronger bond.
1. Iron-on backing
Iron-on patches have a layer of heat-activated adhesive on the back. Heat melts it, pressure pushes it into the fabric and it bonds as it cools. It needs no sewing skill and gives a flat, clean finish.
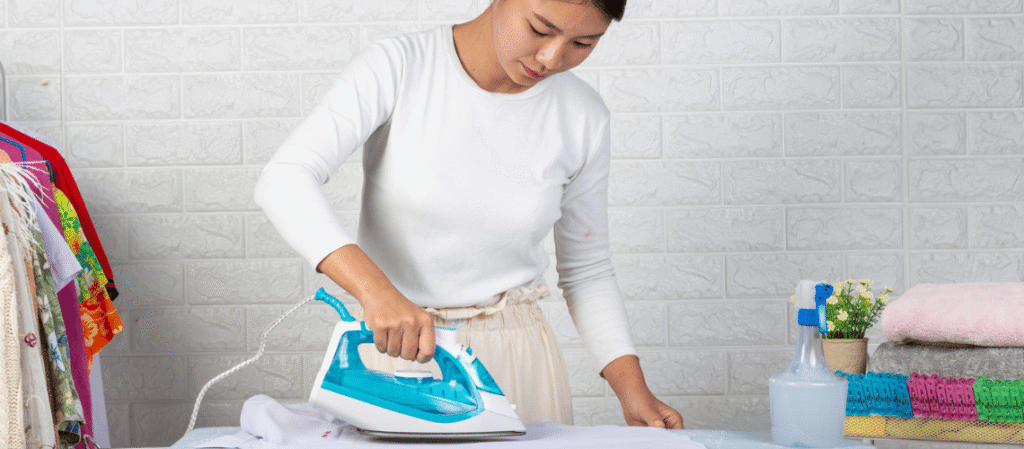
How to attach an iron-on patch
- Check the garment care label. If the fabric cannot be ironed, do not use an iron-on patch on it.
- Set the iron to the cotton setting with the steam turned off, and let it heat fully.
- Lay the garment on a hard, flat surface and iron the area first so it is dry and smooth.
- Position the patch and cover it with a thin cotton cloth to protect the threads.
- Press down firmly and hold. Do not slide the iron around, because that can shift the patch.
- Turn the garment inside out and press again from the back.
- Leave it to cool completely before handling. The bond sets as it cools.
Times and temperatures vary with the adhesive, so always follow the instructions supplied with your patches where they differ from the steps above.
What iron-on suits, and what it does not
Iron-on works best on cotton, denim and canvas. Avoid it on nylon, leather, vinyl, waterproof fabrics and anything stretchy or heat sensitive. These either cannot take the heat or do not give the adhesive anything to grip. For items that are washed often, stitch around the edge after ironing. The adhesive holds the patch in place and the stitching keeps it there.
2. Sew-on backing
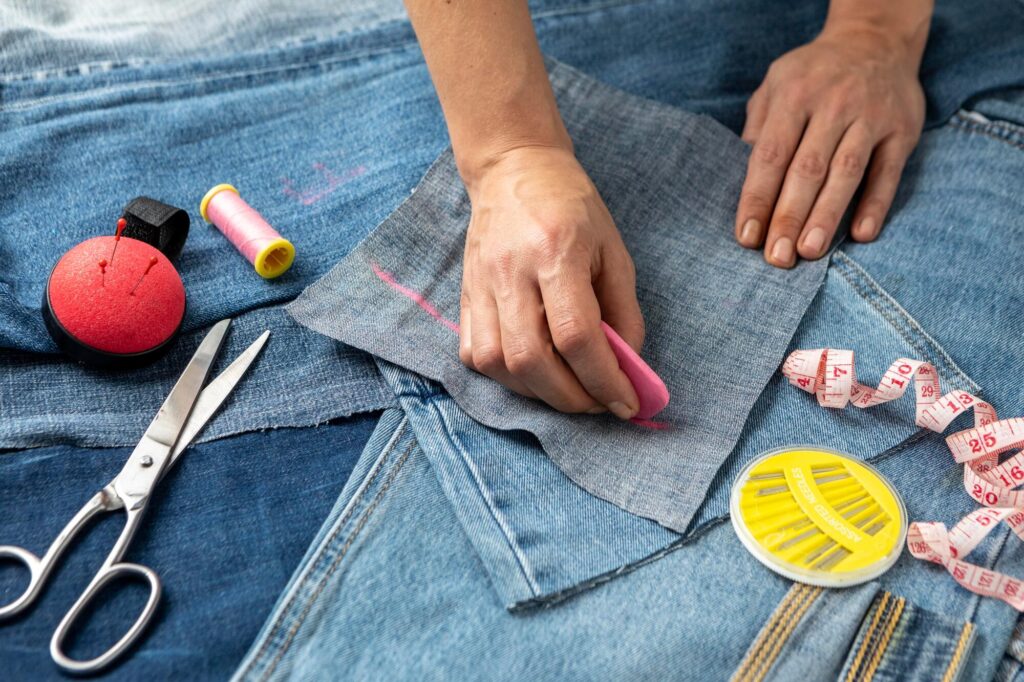
A sew-on patch has no adhesive at all. It is stitched to the garment by hand or by machine. It is the oldest method and still the most reliable, which is why it is the usual choice for uniforms, workwear, club jackets and anything that will be washed for years.
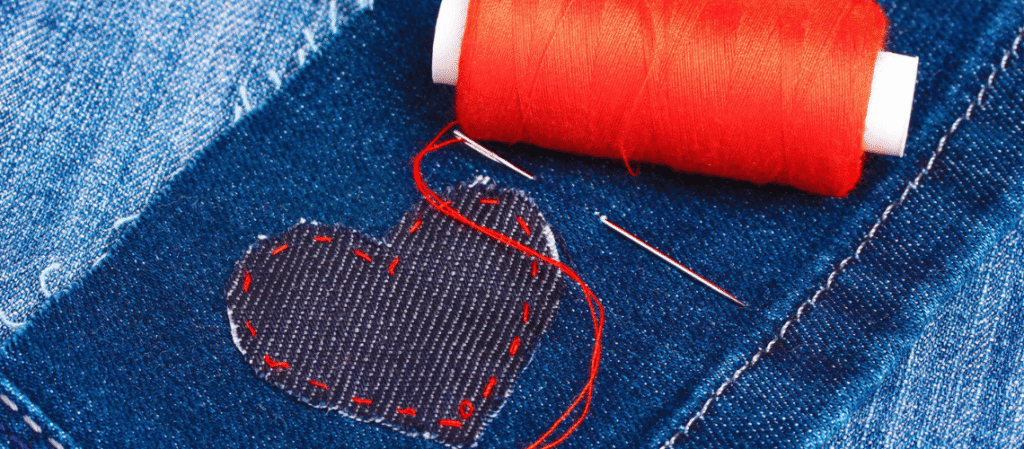
How to sew on a patch
- Pin or tack the patch in position and check it is straight.
- Choose a thread that matches the border colour so the stitches disappear.
- Stitch around the edge just inside the border, keeping the stitches small and even.
- Knot off on the inside of the garment.
A sewing machine is faster for flat areas. Sleeves, pockets and caps are often easier by hand. Sew-on is also the right method for leather and thick materials, and for heavy patches such as chenille patches on varsity jackets.
3. Velcro backing (hook and loop)
Velcro backing comes in two parts. The hook side is attached to the back of the patch. The loop side is sewn onto the garment or bag, or is already built into it, as it is on many tactical vests, caps and backpacks. The patch then presses on and pulls off as often as you like.
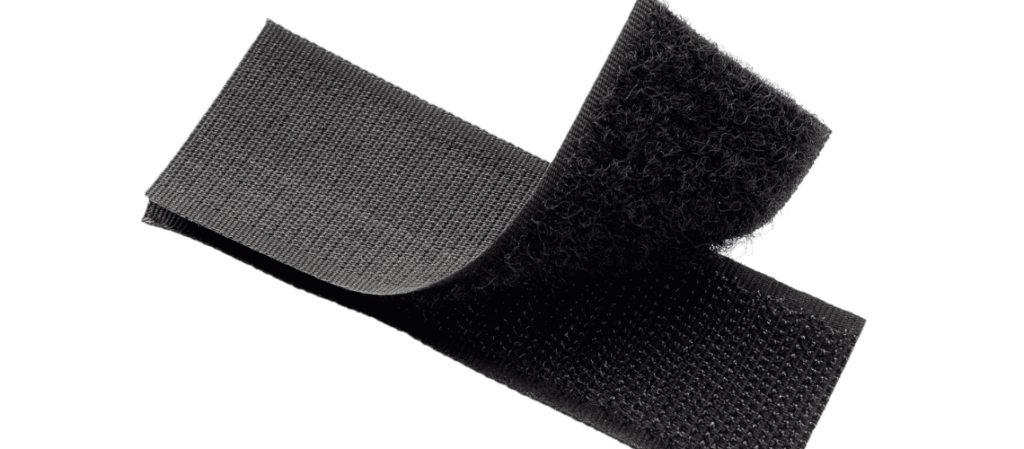
This is the standard for military and tactical use, for name and rank patches, and for any team that moves patches between garments. It is the usual backing for custom PVC patches, which are popular on tactical gear. The trade-offs are a little extra thickness and the need for a loop panel on every item the patch will be worn on.
4. Adhesive backing (peel and stick)
Adhesive backing works like a sticker. Peel off the liner, press the patch onto the fabric and smooth it down.
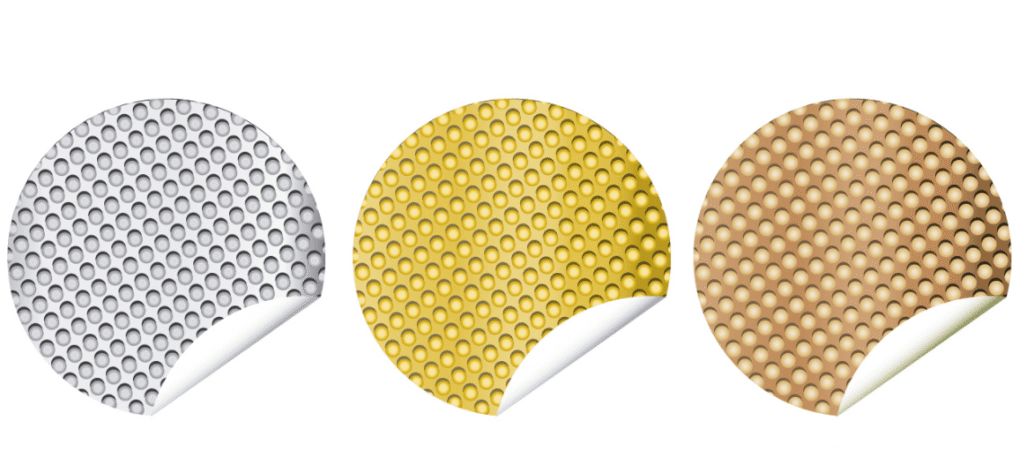
It is designed for temporary use: a one-day event, a conference, a photo shoot or a trial placement before sewing. It is not meant for long-term wear and it will not survive washing. If you need the patch to last beyond the day, choose another backing.
5. Pin backing
A pin-backed patch has one or more clutch pins or a safety pin fixed to the back. It goes through the fabric and fastens behind it, so it can be removed without leaving adhesive or stitch holes.
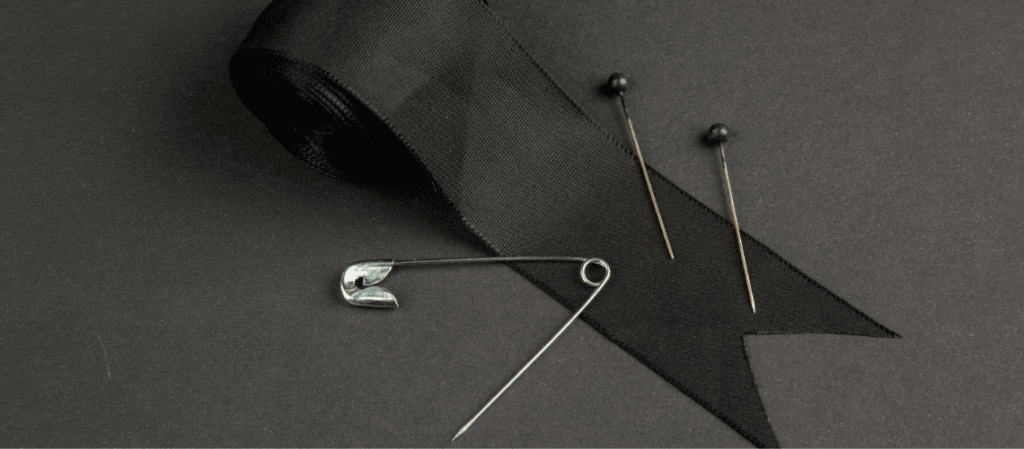
Pin backing is often used for badges, event patches and uniform items that are worn on some days and not others. Larger patches need two pins to stop them rotating. It is not a good choice for children’s clothing or for anything worn during sport.
6. Heat seal backing
Heat seal is the industrial version of iron-on. The adhesive is stronger and it is applied with a heat press, which gives an even temperature and far more pressure than a household iron can. The result is a firmer, longer-lasting bond. It is the method uniform suppliers and garment decorators use when they apply patches in volume. If you do not have access to a heat press, iron-on or sew-on is more practical.
How to choose the right backing
Start with how the patch will be used, not with which backing sounds easiest.
- Washed every week: sew-on, or iron-on with the edge stitched.
- Needs to come off and go back on: velcro.
- One event only: adhesive or pin.
- Leather, nylon or waterproof fabric: sew-on. Heat will damage these materials.
- Stretchy sportswear: sew-on. Adhesives crack when the fabric stretches.
- Large uniform orders applied by a decorator: heat seal.
- Hats and caps: sew-on or heat seal. A curved surface is hard to iron evenly. Our embroidery tips for hats guide covers working on headwear.
The patch type matters as well. Thread-based patches such as custom embroidered patches and woven patches take any of these backings. PVC and leather patches are usually sewn on or velcro backed. Size plays a part too: a large back patch has more edge to lift than a small chest patch, so it benefits from stitching. See our custom patch size guide for typical sizes by placement.
Common mistakes
- Ironing a patch onto nylon or a waterproof jacket and melting the fabric.
- Using steam, which stops the adhesive bonding properly.
- Sliding the iron instead of pressing, which moves the patch while the glue is soft.
- Relying on iron-on alone for workwear that is washed hot.
- Ordering adhesive backing for something that needs to last.
- Forgetting that velcro patches need a loop panel on the garment.
Ordering patches with the right backing
When you request a quote, tell us what the patches are going on and how they will be used, and we will confirm the backing that suits. Browse every patch type on our custom patches page, then request a quote with your artwork, size and quantity.
Frequently asked questions
What is the strongest patch backing?
Sew-on is the most durable because it does not depend on adhesive. Heat seal is the strongest of the adhesive options.
Do iron-on patches come off in the wash?
They can over time, particularly with hot washes and tumble drying. Washing inside out on a cool cycle helps, and stitching the edge prevents it.
Can I sew on a patch that has an iron-on backing?
Yes. Ironing it first holds it in position, which makes sewing easier.
Which backing is best for hats?
Sew-on or heat seal. Household irons do not press evenly on a curved cap front.
Which backing should I choose for uniforms?
Sew-on for permanent patches and velcro for name, rank or role patches that change.